
A Rainy Weekend Crafting With My Daughter: Rolife Cocoa Shop Review
It was raining this weekend, which meant our usual outdoor plans with my daughter were off the table.
As it happened, the Christmas miniature kit I had ordered had just arrived. So instead of heading out, we decided to stay home and build something together.
Our little weekend project was the Rolife Cocoa Shop, a tiny Christmas-themed miniature shop filled with festive decorations, candy canes, hot cocoa, and little gift boxes.
And it turned out to be a lovely way to spend a rainy afternoon.
Our Rolife Cocoa Shop: First Impressions
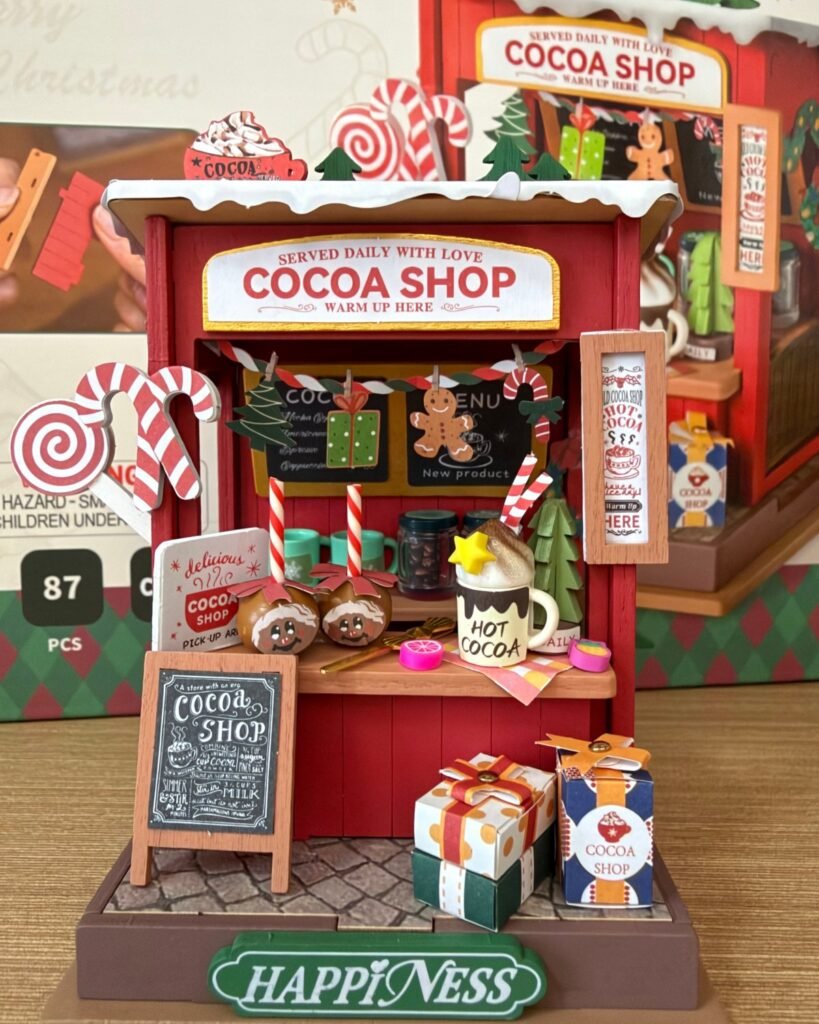
The Cocoa Shop is a relatively small DIY miniature house kit, with just 87 pieces and a one-star difficulty rating.
We finished the whole project in about one and a half hours.
Overall, I found it very easy to assemble. The wooden pieces fitted together nicely, and there weren’t any particularly complicated steps.
The most time-consuming part was actually peeling and applying the double-sided adhesive tape.
Some of the decorations are so tiny that even handling a small piece of tape can take a little patience.
But apart from that, the whole building process was quite straightforward.
What’s Inside the Box?
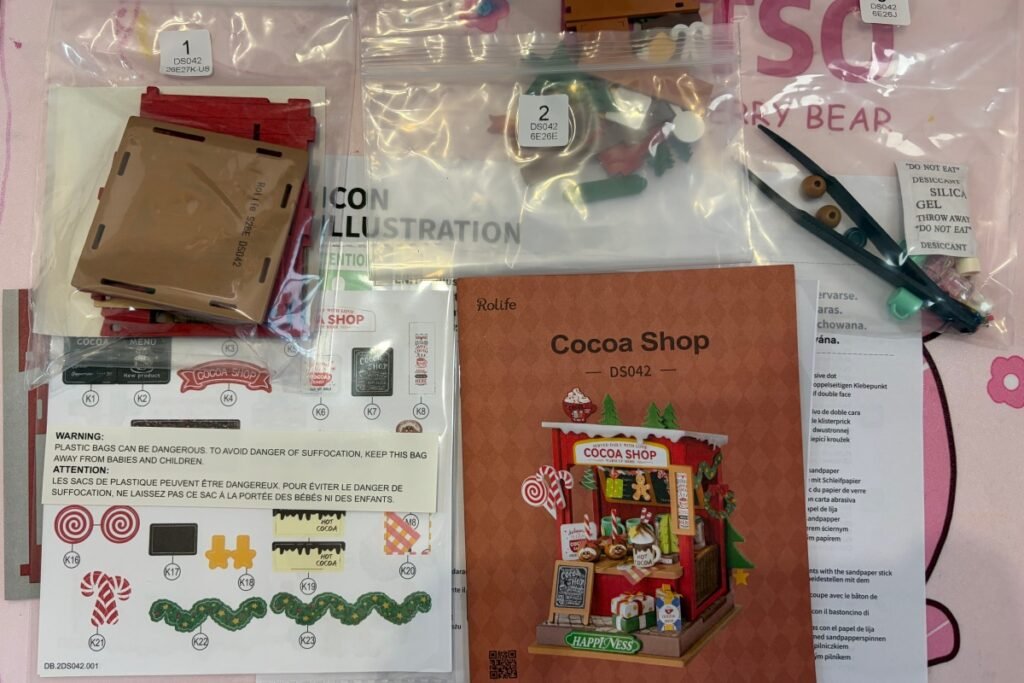
When we opened the box, everything was neatly packed.
The kit included:
- Three plastic bags containing the miniature parts
- Two sticker sheets
- An instruction booklet
- A small piece of sandpaper
- Tweezers for handling tiny pieces
The sandpaper is included in case you need to smooth any rough edges on the wooden pieces.
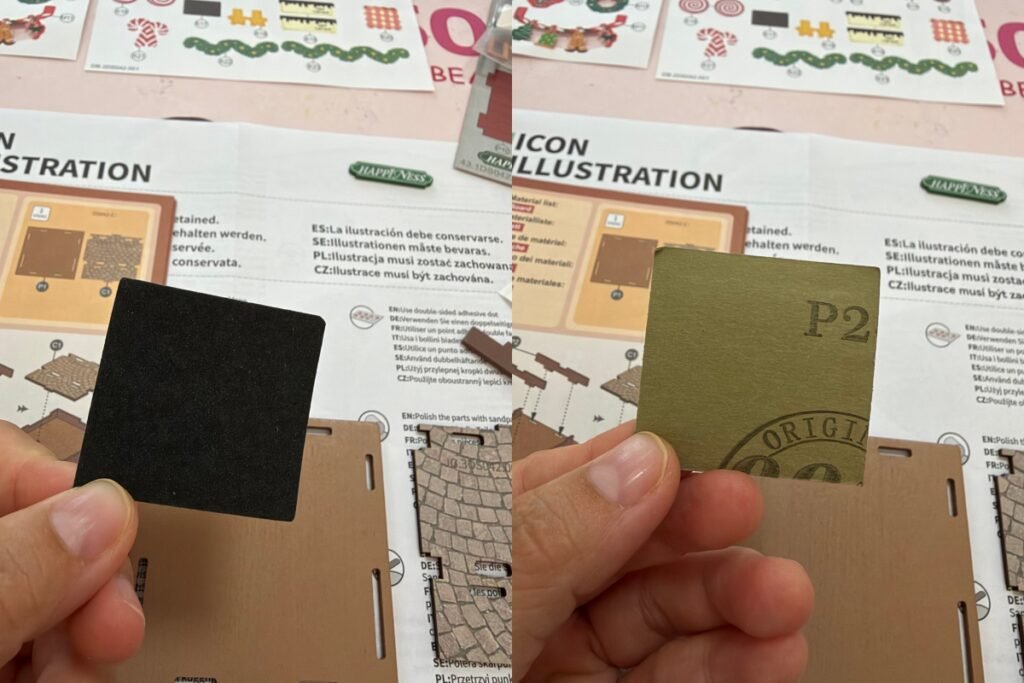
Interestingly, I didn’t need to use it at all.
Every wooden piece fitted together well, so there was no need for extra sanding or adjustments during our build.
That’s always a nice surprise when working with wooden miniature kits.
The Tools That Actually Came in Handy
One little tool I really appreciated was the pair of tweezers included in the kit.
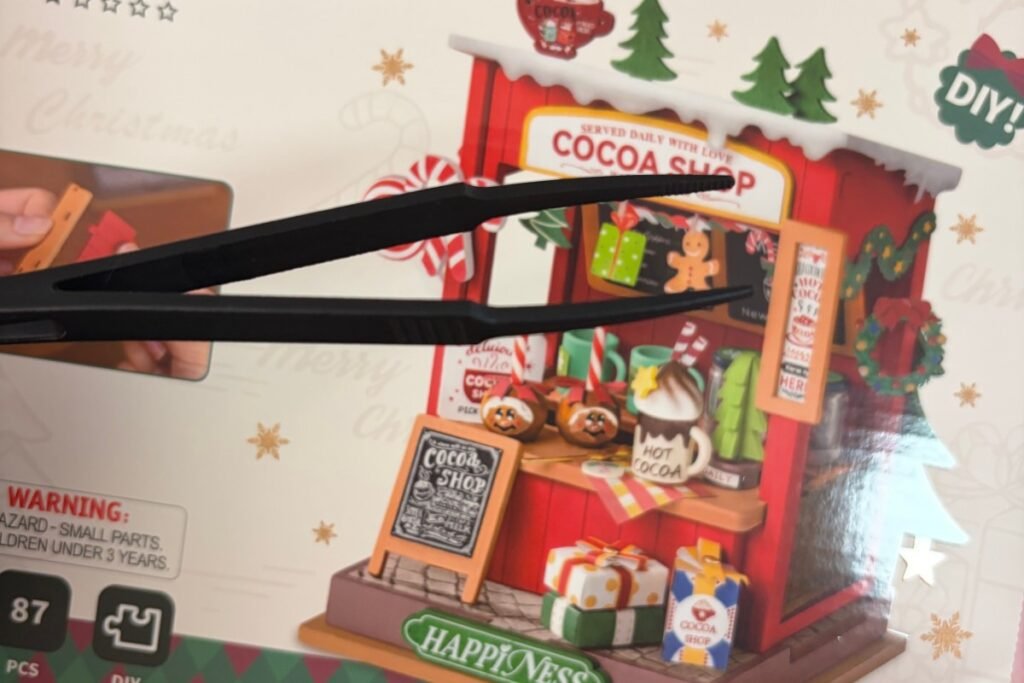
They were especially useful when placing tiny decorations inside the shop, where it would have been difficult to use my fingers.
I’d definitely recommend keeping them nearby throughout the build.
There’s also one thing you’ll need to prepare yourself: a pair of scissors.
Some pieces only require half of a strip of double-sided tape, so you’ll need to cut the tape into smaller sections.
It sounds like a small detail, but having scissors ready makes the process much easier.
My Favorite Detail: The Tiny Christmas Gift Boxes
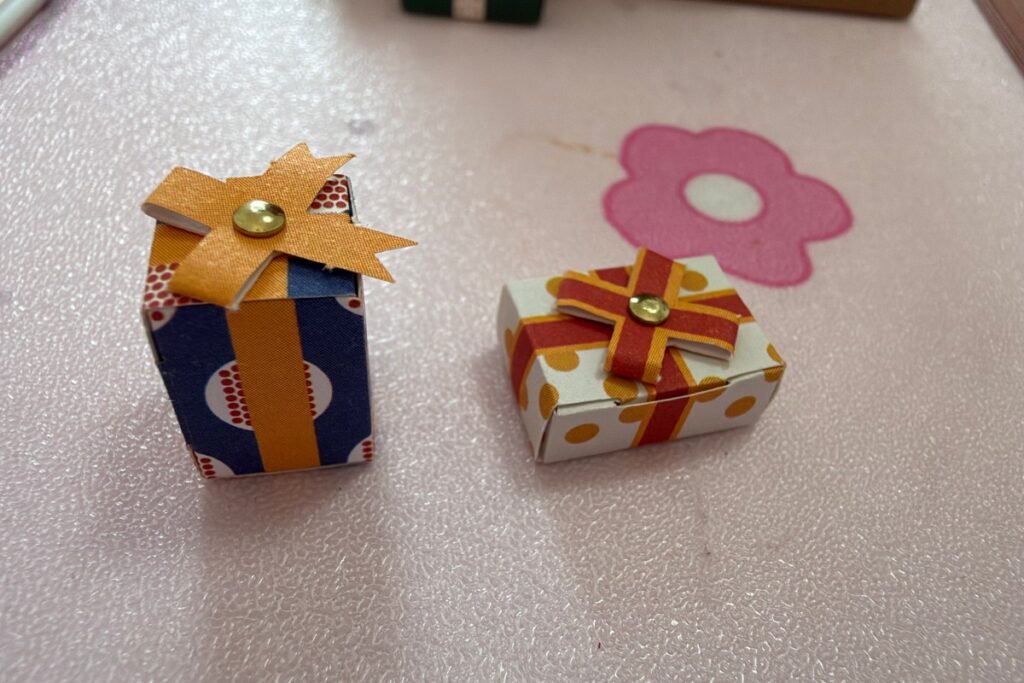
One of my favorite parts of the entire kit was making the miniature gift boxes.
The kit includes tiny paper gift boxes that you need to fold carefully into shape.
Just look at these two little presents. Aren’t they adorable?
What impressed me most was the detail on the bows.
The little fasteners in the center of the bow decorations are actually made of metal.
It’s such a small design choice, but I think it makes the finished decorations feel more delicate and polished.
I really appreciate this kind of attention to detail.
A little credit to the Rolife designers here. They did a lovely job.
One Simple Assembly Tip That Made Things Easier
If you’re planning to build this Christmas miniature kit, here’s one practical tip from our experience:
Find and organize the pieces for each step before you start assembling them.
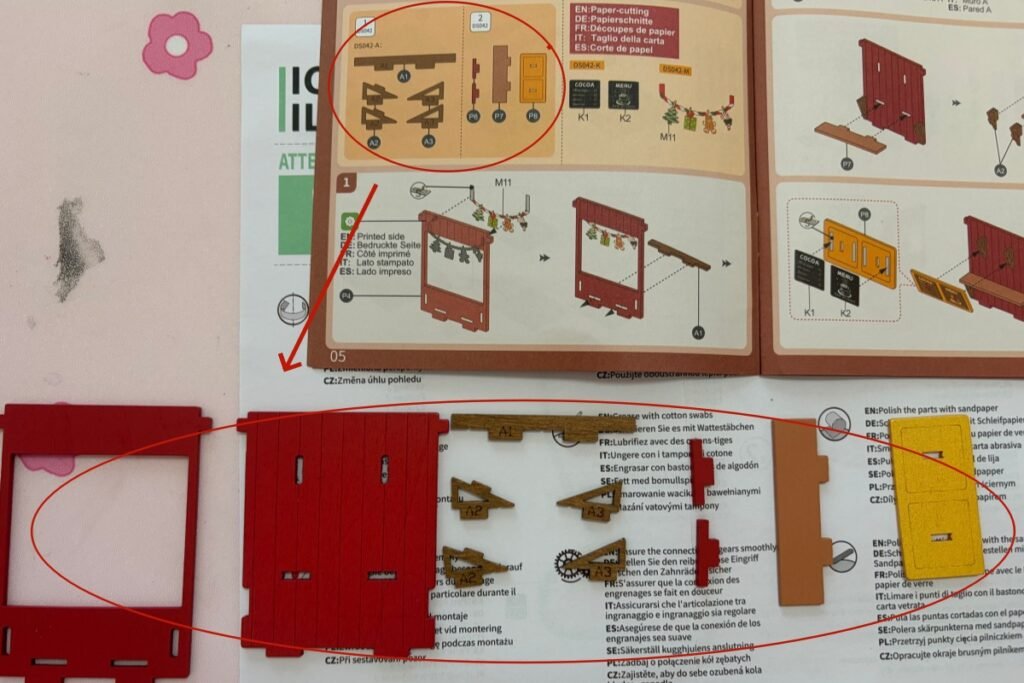
The instruction booklet shows which parts you’ll need for each stage.
Instead of searching for pieces as you go, take a moment to find everything listed in that step and arrange it neatly on your workspace.
It makes a surprisingly big difference.
You spend less time looking for tiny parts, your table feels less cluttered, and the whole building process becomes much smoother.
With miniature kits, I find that staying organized is often just as helpful as having the right tools.
The Finished Cocoa Shop
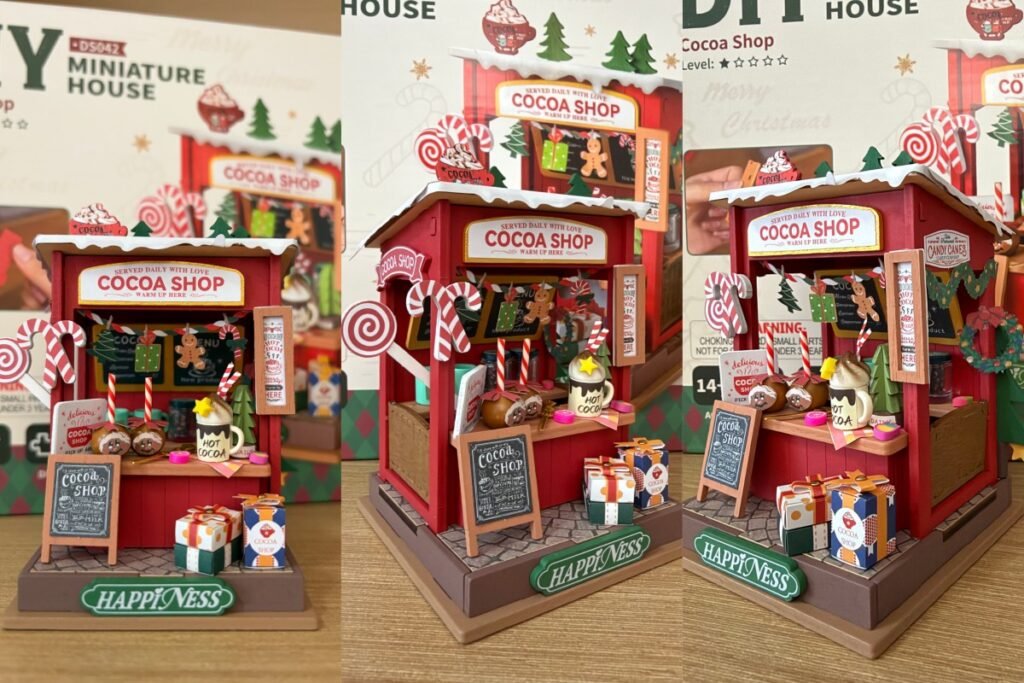
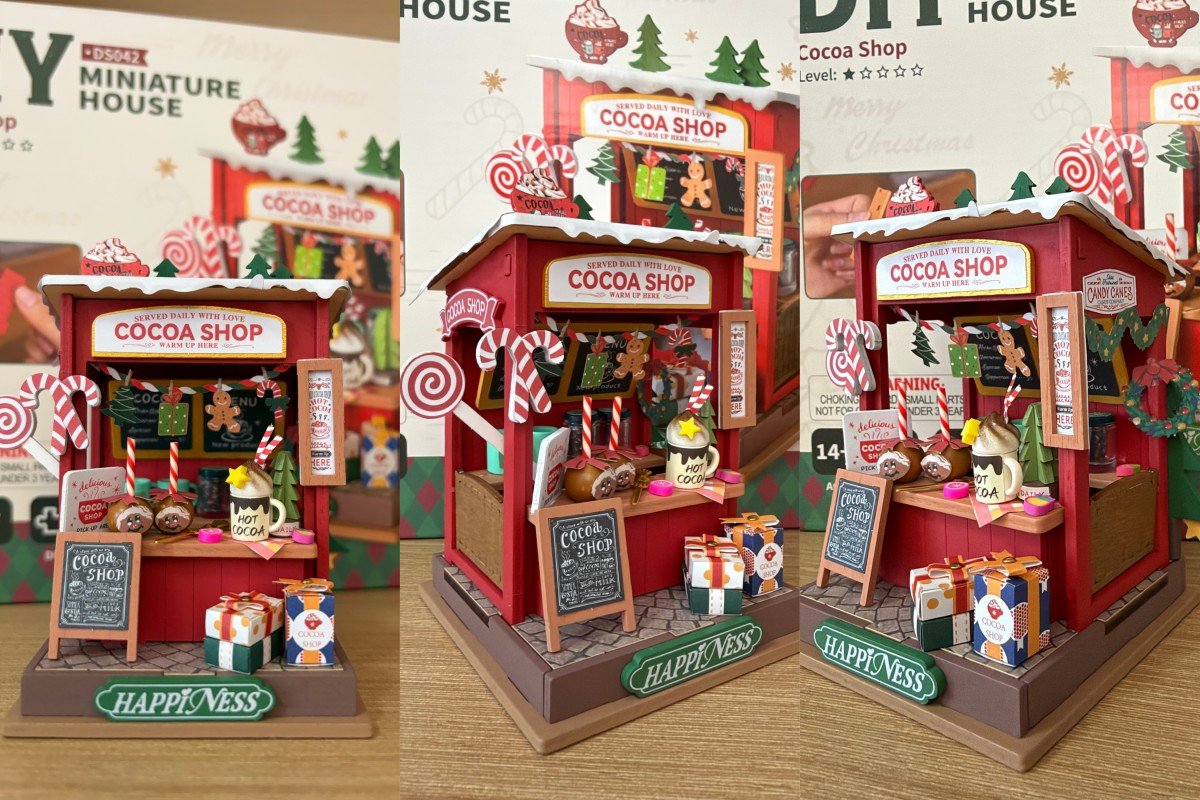
And here it is — our completed little Christmas Cocoa Shop!
I love how festive the finished miniature looks.
There are candy canes, tiny presents, Christmas decorations, and little cups of cocoa displayed around the shop.
It’s small, but there’s so much to look at.
I especially like how all the little details come together to create a cozy Christmas atmosphere.
Once finished, the Cocoa Shop makes a lovely desktop decoration.
You could place it on a bookshelf, a desk, or a small table to add a little festive charm to your home.
Final Thoughts: A Lovely Little Rainy-Day Project
Looking back, this was a simple and enjoyable weekend craft.
The kit was easy to assemble, the wooden pieces fitted together well, and the finished Cocoa Shop looked adorable.
The only part that required a little extra patience was working with the tiny pieces of double-sided tape.
Otherwise, it was a very manageable project.
What I liked most, though, was that we had something creative to do together on a rainy day.
Instead of worrying about our canceled outdoor plans, we stayed inside and worked on this little Christmas shop.
And after about an hour and a half, we had something lovely to display at home.
Sometimes, a small craft project is all you need to make an ordinary weekend feel a little more special.