
DIY Halloween Miniatures: 12 Tiny Props for a Dollhouse or Book Nook
There is something especially satisfying about making Halloween decorations in miniature.
A full-size pumpkin is nice, but a pumpkin small enough to sit beside a tiny wooden door? Somehow, that is even better.
A row of miniature potion bottles can turn an ordinary shelf into a witch’s apothecary. A few handmade books can make a dollhouse feel as though someone has been studying magic there for years. And a tiny ghost hiding behind a miniature window can give an otherwise ordinary book nook an entirely different personality.
The best part is that you don’t need to buy a complete Halloween miniature kit to create that atmosphere.
With a little air-dry clay, paper, beads, fabric scraps, and a few basic craft supplies, you can make your own tiny Halloween props at home.
This is a prop-making tutorial for dollhouses, book nooks, and room boxes: 12 small decorations with materials and making steps, rather than a list of full-size Halloween decor ideas. Check the scale of your scene first, then choose the props that fit it.
You don’t have to build all 12, either. Start with three or four pieces, arrange them together, and see what kind of tiny Halloween world begins to take shape.
What You’ll Need to Make DIY Halloween Miniatures
Before starting, gather a few basic supplies. You won’t need every item for every project.
Basic materials
- Air-dry clay or polymer clay
- Cardstock and thin paper
- Small beads
- Wooden toothpicks
- Fabric scraps or felt
- Thread or embroidery floss
- Acrylic paint and small brushes
- Craft glue
- Scissors and a craft knife
- A ruler and pencil
- Tweezers for placing tiny details
Optional supplies include miniature glass bottles, thin wire, wooden sticks, dried moss, and small pieces of ribbon.
A cutting mat and a shallow tray are also useful. Small components have a habit of disappearing just when you need them.
Choose a scale before you start
If you’re decorating an existing dollhouse or book nook, check its approximate scale before making anything.
A 1:12 miniature, for example, represents an object at one-twelfth of its real-world size. A prop made for a 1:24 scene will look noticeably smaller beside furniture designed for 1:12.
You don’t need to measure every object with architectural precision, especially for a whimsical Halloween scene. However, keeping the proportions reasonably consistent makes the finished display look much more convincing.
If you’re decorating a book nook, remember that the props need to fit the actual space available. A few tiny objects are often more effective than filling every corner.
1. Make Miniature Halloween Pumpkins
Difficulty: Beginner
Time: 15–30 minutes of hands-on work, plus drying or curing time
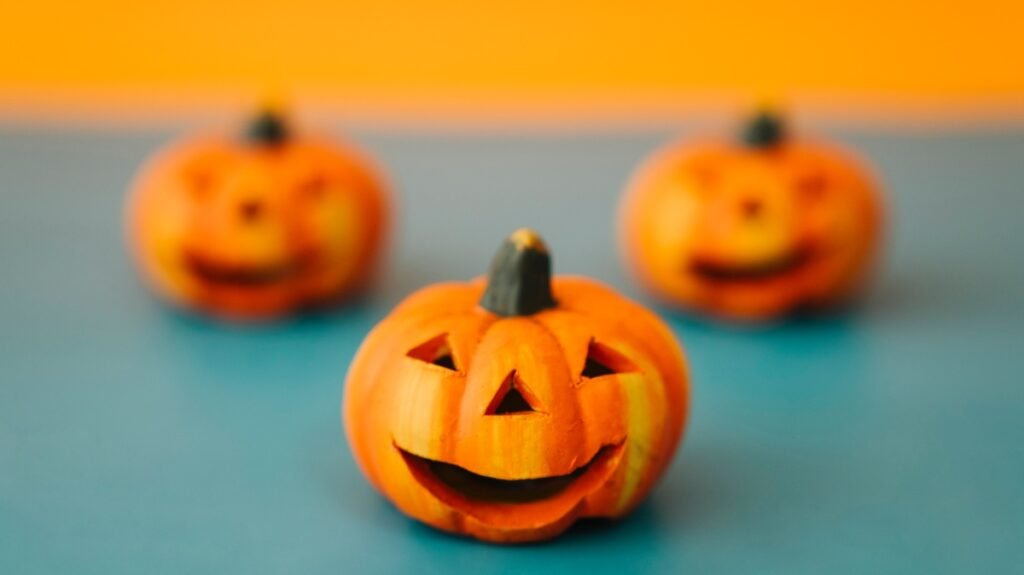
Miniature pumpkins are an excellent first project because they’re recognizable even when their shapes aren’t perfect.
You can make them in different sizes and colors, then use them on a miniature porch, beside a shop entrance, or inside a tiny autumn display.
Materials
- Air-dry clay or polymer clay
- A toothpick or sculpting tool
- Orange, cream, or muted green paint, if needed
- A tiny piece of brown clay for the stem
How to make them
Step 1: Shape the pumpkin.
Roll a small piece of clay into a ball. Flatten the top and bottom slightly so it can sit upright.
Step 2: Add the ridges.
Use a toothpick or sculpting tool to press several shallow lines vertically around the pumpkin. Rotate it as you work so the grooves follow the shape naturally.
Step 3: Make the stem.
Roll a tiny piece of brown clay into a short cylinder. Attach it to the center of the top.
Step 4: Finish the surface.
If you’re using air-dry clay, let the pumpkin dry according to the clay manufacturer’s instructions before painting. If you’re using polymer clay, follow the package’s curing instructions.
Paint the pumpkin if necessary, or leave the clay unpainted for a natural finish.
Make it look more realistic
Avoid making every pumpkin identical.
Try one round pumpkin, one slightly flattened pumpkin, and one that leans a little to one side. A combination of burnt orange, cream, and muted green also looks more natural than using exactly the same bright orange on every piece.
Display idea: Place three pumpkins beside a miniature shop door, or arrange one on top of a tiny wooden crate.
2. Create Tiny Potion Bottles
Difficulty: Beginner
Time: 20–40 minutes
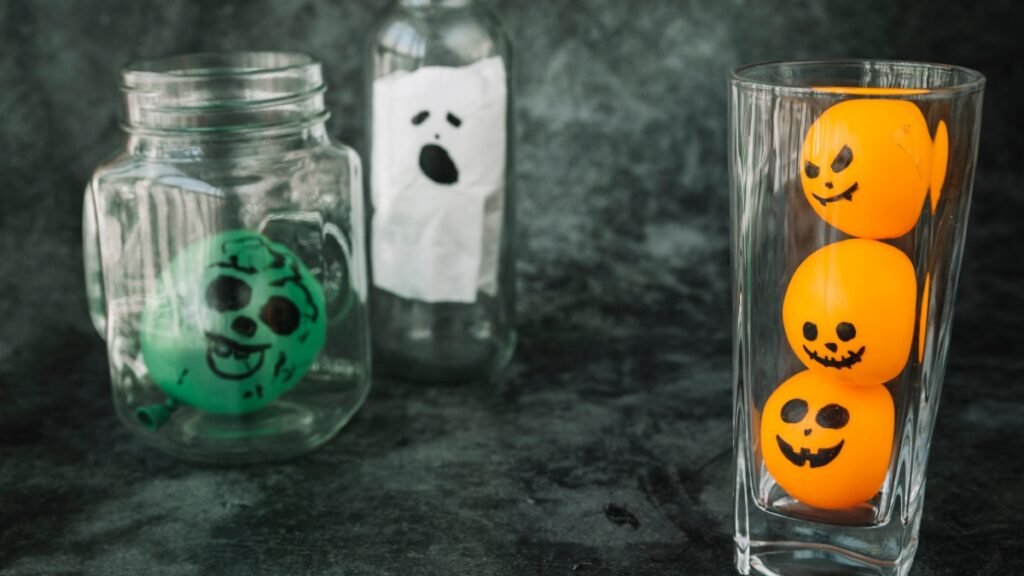
A few miniature potion bottles can instantly establish the atmosphere of a witch’s workshop, apothecary, or magical book nook.
You don’t need to buy specialized miniature glassware. Small beads, lightweight plastic containers, or tiny craft bottles can all work, depending on the scale of your scene.
Materials
- Small beads or miniature bottles
- Thin paper
- Craft glue
- Thread or thin twine
- A fine-tip pen
- Optional: colored paper, glitter, or tiny decorative beads
How to make them
Step 1: Choose different bottle shapes.
Select several beads or containers in different sizes. A collection looks more convincing when the bottles aren’t all identical.
Step 2: Create the contents.
For a simple opaque potion, place a small piece of colored paper behind a clear container. Alternatively, use tiny beads or other dry decorative materials.
If you’re using beads as the bottles themselves, you can skip this step.
Step 3: Add a stopper.
A tiny piece of rolled paper, cork material, or a small bead can serve as a stopper. Secure it with a small amount of glue.
Step 4: Add labels.
Cut tiny rectangles from paper and write names such as:
- Moonwater
- Midnight Moss
- Dream Dust
- Potion No. 13
- The Last Autumn Spell
Glue the labels onto the bottles and let them dry.
A small detail that makes a big difference
Give each bottle a different name or purpose instead of labeling everything simply as a potion.
The labels help suggest that the objects belong to a particular character or story.
For a softer aesthetic, use cream labels with dark lettering. For a more dramatic apothecary, try aged-looking paper and burgundy or black details.
Display idea: Arrange the bottles on a tiny shelf beside miniature spell books.
3. Make Tiny Spell Books
Difficulty: Beginner
Time: 20–40 minutes
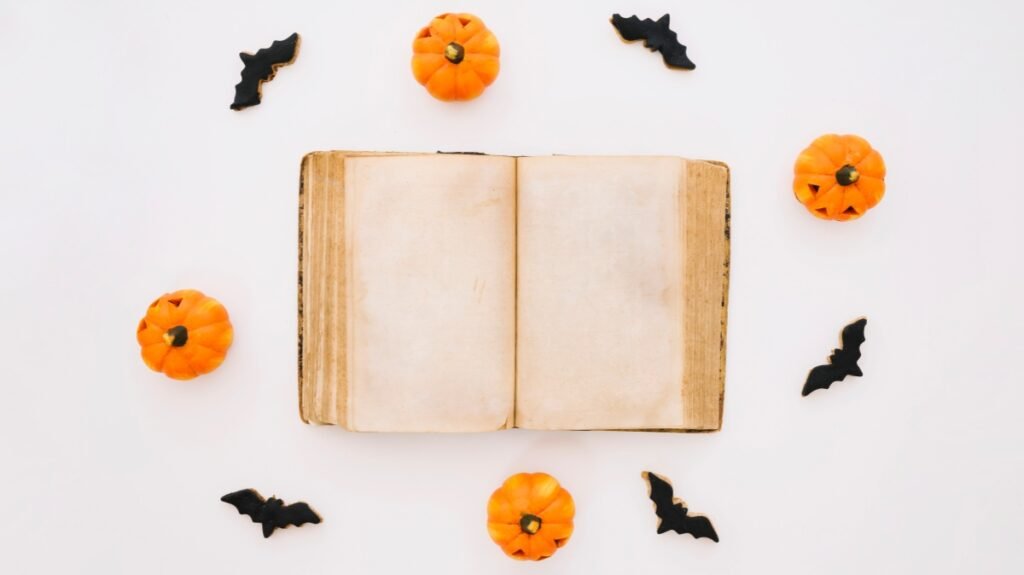
Miniature books are useful far beyond Halloween. You can use them in a dollhouse library, a book nook, a miniature study, or a year-round fantasy scene.
For Halloween, dark covers and tiny mysterious titles make them particularly effective.
Materials
- Cardstock
- Thin printer paper
- Scissors
- Ruler
- Glue
- Fine-tip pen
- Optional: acrylic paint or metallic markers
How to make them
Step 1: Cut the pages.
Cut several small rectangles of thin paper. Keep the pieces approximately the same size and stack them together.
Step 2: Create the page block.
Align the rectangles carefully and glue one edge. Allow the glue to dry so the pages form a compact block.
Step 3: Make the cover.
Cut a slightly larger piece of cardstock and fold it around the page block. Glue the inside of the cover to the outer edges of the pages.
Step 4: Decorate the spine.
Use a fine-tip pen to add a title, a few lines, or a tiny symbol. You can also add thin gold lines to suggest decorative bookbinding.
Miniature book titles to try
- A Field Guide to Little Ghosts
- The Art of Potion Making
- Plants Best Left Untouched
- The Midnight Garden
- Practical Magic for Small Spaces
You can leave some books closed and make one or two open books from folded paper.
Display idea: Stack two books horizontally and place a tiny potion bottle on top. A few simple objects arranged together can look more convincing than a shelf crowded with unrelated decorations.
4. Make a Miniature Witch’s Broom
Difficulty: Beginner
Time: 15–25 minutes
A miniature broom is a small detail that can make a witch’s room feel much more complete.
It works particularly well beside a miniature doorway, leaning against a cabinet, or placed near a tiny cauldron.
Materials
- A thin wooden toothpick or twig
- A small piece of dried grass, raffia, or natural fiber
- Thread
- Craft glue
- Scissors
How to make it
Step 1: Prepare the handle.
Trim a toothpick or thin twig to the desired length. If necessary, lightly sand the cut edge.
Step 2: Prepare the bristles.
Gather a small bundle of raffia or dried fibers. Keep the bundle narrow so it doesn’t overwhelm the handle.
Step 3: Attach the bristles.
Place one end of the fiber bundle around the bottom of the handle. Apply a small amount of glue, then wrap thread around the joint to hold everything together.
Step 4: Trim the shape.
Once the glue has dried, trim the fibers into a neat, slightly tapered shape.
Keep the proportions believable
The bristles should be wide enough to look like a broom but not so large that the handle disappears.
If the fibers are too stiff, use a smaller amount rather than trying to force them into a compact shape.
Display idea: Lean the broom against a miniature bookshelf or place it beside a tiny witch’s workbench.
5. Create Tiny Candles for a Haunted Room
Difficulty: Beginner
Time: 15–30 minutes
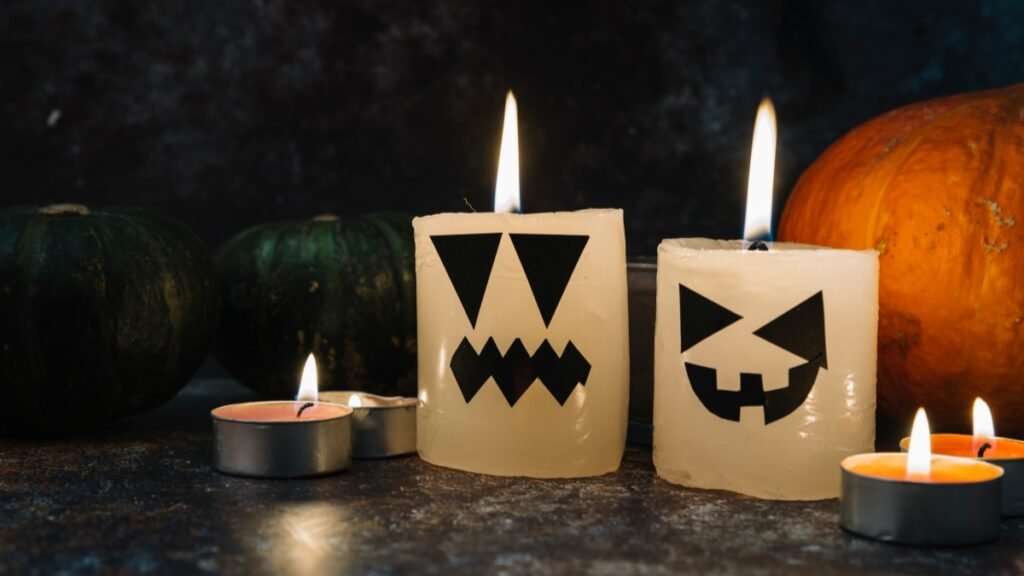
Candles are an easy way to add atmosphere to a miniature Halloween scene, even if you don’t plan to include working lights.
The simplest version uses small pieces of clay to create candle bodies and tiny thread fibers to suggest wicks.
Materials
- Air-dry clay or polymer clay
- A toothpick
- White, cream, or dark-colored paint
- Fine thread
- Craft glue
How to make them
Step 1: Shape the candles.
Roll small pieces of clay into short cylinders. Make several different heights.
Step 2: Add the tops.
Use a toothpick to create a shallow indentation at the top of each candle.
Step 3: Add the wick.
Insert a very short piece of thread or thin fiber into the indentation. Use a tiny amount of glue if needed.
Step 4: Finish the surface.
Leave the candles cream-colored, or paint them dark burgundy, black, or muted brown for a more unusual display.
If you’re using polymer clay, follow the manufacturer’s curing instructions before adding any materials that shouldn’t be exposed to the curing temperature.
These are decorative props, not functional candles. Do not attempt to light them.
Optional lighting
If you want a glowing effect, use a commercially made miniature LED light designed for the scale of your display. Keep wiring and batteries accessible if they may need replacement.
Display idea: Place three candles at different heights beside miniature books or a tiny framed picture.
6. Make a Tiny Ghost

Difficulty: Beginner
Time: 15–30 minutes, plus drying time if using clay
A miniature ghost doesn’t need complicated details. In fact, the simplest versions often work best.
You can make one from clay, felt, or lightweight fabric, depending on the look you want.
Option A: Air-dry clay ghost
- Shape a small piece of clay into a rounded head and flowing body.
- Gently widen the bottom so the ghost can stand.
- Use a toothpick to add two tiny eye holes or paint small black eyes after drying.
- Allow the piece to dry completely.
Option B: Fabric ghost
- Cut a small piece of white or cream fabric.
- Drape it over a tiny ball of crumpled paper or another temporary support.
- Secure the shape with thread or a small amount of fabric-safe glue.
- Remove the temporary support if the fabric can hold its shape.
- Add two tiny eyes.
The fabric version has a softer, slightly floating appearance, while the clay version is easier to position on a shelf.
Display idea: Place a tiny ghost behind a miniature window or beside a stack of spell books, as though it has just wandered into the scene.
7. Add Miniature Cobwebs
Difficulty: Beginner
Time: 10–20 minutes
Cobwebs are useful because they fill empty corners without taking up much physical space.
They’re particularly effective around window frames, ceiling corners, old shelves, and miniature doorways.
Materials
- Fine white thread
- Thin white sewing fiber or lightweight cotton fiber
- Tweezers
- A small amount of craft glue
How to make them
Step 1: Create the main lines.
Cut two or three short pieces of thread. Arrange them so they meet at a central point, creating a basic web structure.
Step 2: Add connecting lines.
Use smaller thread pieces to connect the main lines. The result doesn’t need to be perfectly symmetrical.
Step 3: Attach the web.
Apply tiny amounts of glue at the connection points, then secure the web to the miniature scene.
Step 4: Remove excess material.
Trim loose fibers carefully so the finished web remains delicate rather than bulky.
Avoid making the web too dense
At miniature scale, a few fine lines can be more effective than a thick mass of cotton.
You want the viewer to notice the web as a detail, not mistake it for a large white decoration.
Display idea: Place one small web in the upper corner of a miniature bookshop or witch’s study.
8. Make a Miniature Witch Hat
Difficulty: Beginner
Time: 20–30 minutes
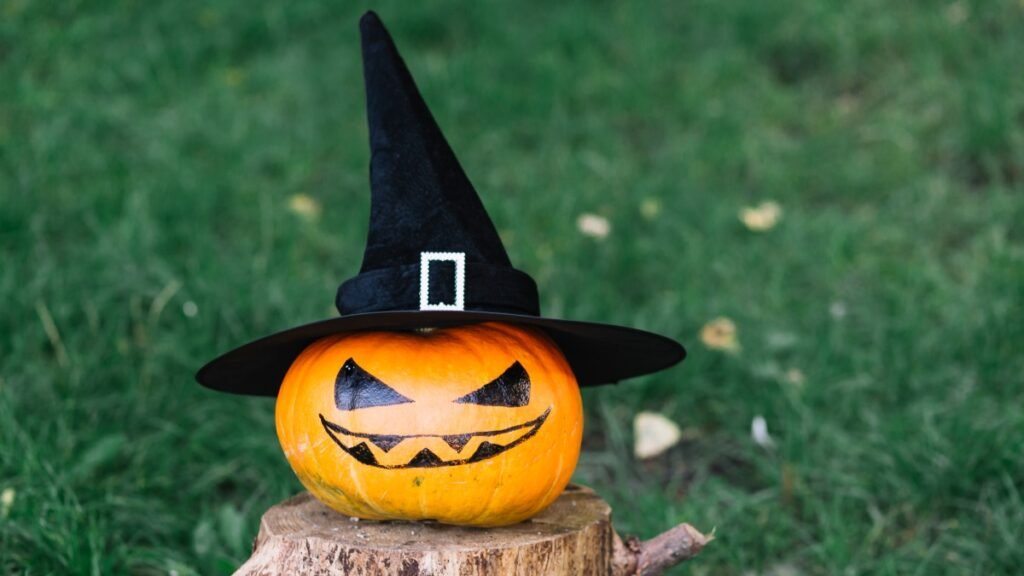
A tiny witch hat is an easy way to introduce a recognizable Halloween shape without needing to make an entire witch figurine.
You can use cardstock for a crisp, graphic look or felt for a softer appearance.
Materials
- Black cardstock or felt
- Scissors
- Ruler
- Craft glue
- Thin ribbon or thread
- Optional: a tiny buckle made from paper
How to make it
Step 1: Make the cone.
Cut a small curved shape from cardstock. Roll it into a narrow cone and glue the overlapping edge.
Step 2: Add the brim.
Cut a small circle from cardstock. Make a hole in the center just large enough for the cone to fit through.
Step 3: Assemble the hat.
Slide the cone through the brim and secure it with glue.
Step 4: Add a band.
Wrap a narrow strip of ribbon or paper around the base of the cone. Add a tiny square of gold or brown paper if you want a buckle.
For a softer version
Use thin felt instead of cardstock. Because felt is flexible, you may need to adjust the cone and brim so the hat keeps its shape.
Display idea: Place the hat on a tiny chair or beside an open spell book.
9. Make a Miniature Halloween Candy Bucket

Difficulty: Beginner
Time: 15–25 minutes
A tiny candy bucket works well outside a miniature house, beside a shop counter, or near a Halloween-themed doorway.
The easiest version uses a small bead, bottle cap, or similarly shaped craft component.
Materials
- A small bead or shallow container
- Thin wire or thread
- Acrylic paint
- Craft glue
- Tiny paper scraps or beads for the candy
How to make it
Step 1: Choose the container.
Find a small rounded container with enough space inside to hold a few tiny pieces.
Step 2: Paint it.
Use orange, black, cream, or another color that suits your scene. Let the paint dry completely.
Step 3: Add the handle.
Attach a short piece of thin wire or thread across the top. If using wire, bend the ends carefully and secure them with glue.
Step 4: Add the candy.
Use tiny colored paper scraps or small beads to suggest wrapped sweets. You don’t need to make every candy individually recognizable.
Display idea: Place the bucket near a miniature shop entrance with two or three pumpkins.
10. Make a Miniature Black Cat
Difficulty: Beginner to intermediate
Time: 20–40 minutes
A black cat is a useful addition to a Halloween miniature scene because it can suggest a story without requiring elaborate scenery.
For a simple version, use air-dry clay.
Materials
- Air-dry clay or polymer clay
- A toothpick or sculpting tool
- Black paint, if needed
- A tiny amount of cream or yellow paint for the eyes
How to make it
Step 1: Shape the body.
Roll a small piece of clay into an oval and flatten the underside so the cat can sit securely.
Step 2: Add the head.
Make a smaller rounded shape and attach it to the front of the body.
Step 3: Create the ears.
Pinch two small points at the top of the head or attach two tiny triangular pieces of clay.
Step 4: Add the tail.
Roll a thin piece of clay into a curved shape and attach it to the back.
Step 5: Finish the details.
Allow air-dry clay to dry according to its instructions. Paint the cat black if necessary, then add tiny eyes.
Don’t worry about perfect anatomy
At this scale, the silhouette matters more than individual facial details.
A rounded body, pointed ears, and curved tail are often enough for people to recognize the figure.
Display idea: Position the cat beside the miniature witch’s broom or under a tiny table.
11. Make a Miniature Halloween Wreath
Difficulty: Beginner
Time: 20–35 minutes
A miniature wreath can transform an ordinary dollhouse door into a seasonal entrance.
You can make it from thread, thin wire, dried fibers, or small pieces of artificial greenery.
Materials
- Thin wire or a small circular base
- Thread or fine decorative fiber
- Small pieces of dried or artificial greenery
- Craft glue
- Tiny ribbon
How to make it
Step 1: Form the base.
Bend a thin piece of wire into a small circle. Alternatively, wrap thread around a small circular cardboard base.
Step 2: Add the greenery.
Attach small pieces of greenery or fiber around the base. Keep the material proportionate to the size of the wreath.
Step 3: Add a focal detail.
Choose one detail, such as a tiny pumpkin, a black bow, or a small paper moon.
Step 4: Attach a hanging loop.
Use a short piece of thread to create a loop at the top.
Keep the decoration restrained
A miniature wreath can become bulky very quickly. One focal detail is often enough.
Display idea: Hang it on a miniature cottage door or place it against a tiny shop window.
12. Create a Miniature Halloween Sign
Difficulty: Beginner
Time: 15–25 minutes
A small sign can make a miniature scene feel like a real place rather than a collection of unrelated objects.
It works particularly well for a haunted shop, candy stand, witch’s cottage, or tiny bookshop.
Materials
- Thin cardstock or a small piece of craft wood
- Pencil and ruler
- Fine-tip pen
- Paint
- Glue
- Two tiny wooden sticks, if you want a freestanding sign
How to make it
Step 1: Cut the sign.
Choose a simple rectangular, oval, or arched shape. Keep the outline clean and easy to read.
Step 2: Add the lettering.
Write a short phrase such as:
- Witch’s Supplies
- Pumpkin Patch
- Open After Dark
- The Midnight Shop
- No Tricks, Just Treats
Step 3: Add a small graphic.
A tiny moon, pumpkin, star, or bat is enough.
Step 4: Create the support.
For a freestanding sign, attach two small sticks to the back. For a wall-mounted sign, add a small hanging loop or glue it directly to the miniature wall.
Make sure the words are readable
Miniature text becomes difficult to read when too many words are squeezed into a small area. Use a short title and let the surrounding scene provide the rest of the story.
Display idea: Place the sign above a tiny doorway, or lean it against a miniature shop counter.
How to Combine Your Miniature Halloween Props Into a Complete Scene
Making the individual props is only half the fun.
The next step is deciding how they belong together.
You don’t need to use all 12 objects in one scene. In fact, a smaller selection often looks more convincing.
Here are three combinations you can try.
Scene 1: A Tiny Witch’s Study
Use:
- Miniature spell books
- Potion bottles
- A witch’s broom
- Tiny candles
- A miniature black cat
Arrange the books and bottles on a shelf, place the broom against the wall, and position the cat near the desk.
The scene should suggest that someone has just stepped away from their work.
You don’t need to add a witch figure. The objects can tell the story on their own.
Scene 2: A Haunted Miniature Shop
Use:
- Miniature pumpkins
- A Halloween sign
- Potion bottles
- A miniature wreath
- A candy bucket
Place the sign above the entrance, arrange the pumpkins outside, and use the bottles as products displayed in the window.
The key is to decide what the shop sells. Once you have a theme, the objects feel connected rather than random.
Scene 3: A Spooky Book Nook
Use:
- Miniature spell books
- A tiny ghost
- Miniature candles
- Cobwebs
- A black cat
Keep the main focal point toward the center or back of the scene. Place smaller props near the edges to add depth without blocking the view.
If the book nook already has built-in lighting, test how the scene looks with the lights on and off before securing the props permanently.
Warm lighting can make the scene feel cozy, while shadows and darker backgrounds can create a more mysterious atmosphere.
Tips for Making DIY Halloween Miniatures Look More Realistic
Small objects can be surprisingly difficult to make convincing. The good news is that you don’t need professional miniature-making skills to improve the result.
1. Keep the scale reasonably consistent
If your miniature books are designed for a small dollhouse, oversized potion bottles may look out of place beside them.
Choose one main scale and use it as a reference for the other objects.
2. Use a limited color palette
Try combinations such as:
- Black, cream, and burnt orange
- Burgundy, brown, and antique gold
- Dark green, charcoal, and muted purple
You don’t need every traditional Halloween color in the same scene.
3. Vary the shapes and heights
Three identical bottles lined up in a row can look repetitive.
A tall bottle, a short bottle, and a rounded container create more visual interest.
The same principle applies to pumpkins, books, and candles.
4. Pay attention to the small finishing details
Remove excess glue, trim loose threads, and let paint dry completely before assembling the scene.
At miniature scale, even a small glue mark can be noticeable.
5. Leave some empty space
It can be tempting to fill every shelf and corner with decorations.
Resist that urge.
A tiny object becomes more noticeable when it has room around it, and an uncluttered scene is easier to understand at a glance.
6. Secure the props appropriately
If your miniature display will be moved frequently, secure lightweight objects with a suitable adhesive or removable mounting material.
If you want to reuse the scene for different seasons, avoid permanently attaching every prop. A few removable decorations make it easier to change the display later.
Common Mistakes to Avoid When Making Miniature Halloween Props
Making everything too large. A beautiful miniature pumpkin won’t look right if it takes up half the doorway. Check the proportions against your existing furniture or scene.
Adding too many details. Tiny objects can quickly become visually crowded. Start with the main prop and add supporting details only when they improve the scene.
Using too much glue. Apply glue with a toothpick or similarly fine tool when working with very small components.
Painting before assembling without a plan. Some parts are easier to paint separately, while others need to be attached first. Think through the construction before you begin.
Ignoring drying time. Air-dry clay, paint, and glue all need sufficient time to set. Rushing the next step can damage a project that was otherwise going well.
Making every object perfectly uniform. A little variation in handmade props often makes them feel more natural. The goal is consistency in scale, not identical shapes.
What If You Don’t Want to Make Everything From Scratch?
You don’t have to.
A miniature Halloween scene can combine handmade props, existing dollhouse furniture, recycled materials, and ready-made miniature accessories.
For example, you might make your own pumpkins, spell books, and Halloween sign while using a miniature table or shelf you already own.
You can also adapt an existing miniature house or book nook for the season. A few removable pumpkins, a tiny ghost, and a handmade sign may be all you need to change the atmosphere.
If you enjoy the building process itself, a complete miniature kit can provide a larger project to work on. But if your goal is simply to create a small Halloween display, making a handful of props can be a satisfying place to start.
The important thing is to choose a project that suits your available time, materials, and interest.
Frequently Asked Questions
What are the easiest DIY Halloween miniatures for beginners?
Miniature pumpkins, spell books, potion bottles, ghosts, and Halloween signs are good starting points. They use simple shapes and basic materials, so you can practice miniature crafting without building an entire dollhouse.
What materials can I use to make miniature Halloween props?
Common materials include air-dry clay, cardstock, thin paper, beads, toothpicks, fabric scraps, thread, acrylic paint, and craft glue. You can also repurpose small containers and leftover craft materials.
How do I make miniature Halloween decorations for a book nook?
Start by checking the available space and approximate scale. Choose a theme, such as a witch’s study or haunted shop, and make a few props that support that theme. Arrange the main objects first, then add smaller details without blocking the view.
Can I make Halloween miniatures without buying a kit?
Yes. Many small props can be made from ordinary craft supplies. You can use clay for pumpkins, paper for spell books, beads for potion bottles, and toothpicks or twigs for broom handles.
How do I make miniature props look realistic?
Keep the proportions consistent, use a limited color palette, vary the shapes slightly, and pay attention to finishing details. A few well-made props arranged thoughtfully often look more convincing than a crowded scene.
Can I reuse DIY Halloween miniatures every year?
Yes. Store dry, fragile pieces in small compartments or padded containers, away from moisture and direct sunlight. Keep removable props separate from larger structures so you can reuse them in different scenes each Halloween.
Start With One Tiny Halloween Project
You don’t need an entire miniature workshop to create something worth displaying.
Start with a pumpkin.
Make two tiny potion bottles.
Cut a few pages for a spell book.
Then place them together and see what happens.
Maybe they’ll become a witch’s study. Maybe they’ll end up outside a miniature shop. Or perhaps you’ll find yourself making a whole collection of tiny objects simply because you enjoy the process.
That’s the lovely thing about miniature crafting: a small project can become a much bigger creative world, one detail at a time.
And when Halloween is over, most of these props can be stored away and brought back next October—or used in a fantasy-themed dollhouse or book nook throughout the year.
Sometimes, the smallest details make the biggest difference.
If you would like to make a larger seasonal display too, explore these Halloween crafts for adults.