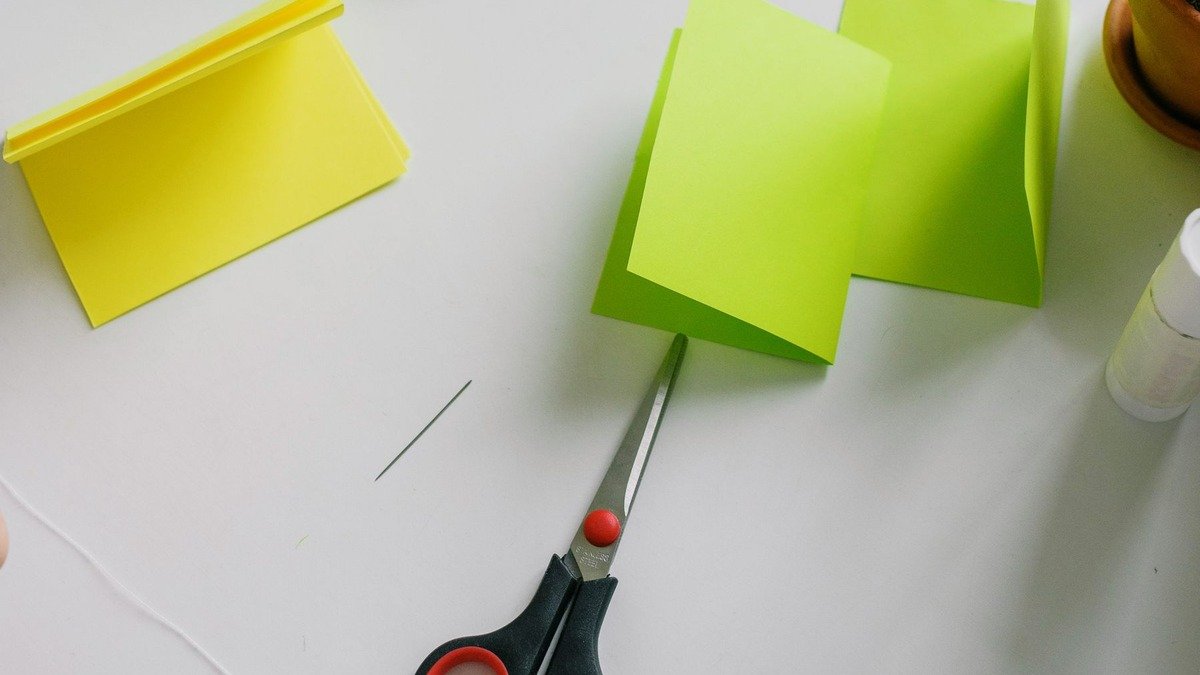
7 Rainy Day Crafts for Adults Using What You Have
Start with the supplies already in the house: paper, a pencil, an envelope, a cardboard package, or a few fabric scraps. A rainy-day craft can be a small thing you make at the kitchen table and put away before dinner. You do not need to turn the afternoon into a shopping trip.
These seven projects have a modest first version and a clear place to stop. Choose by your available surface and materials, then decide whether you want to keep going. Making one paper bookmark counts as a complete plan.
Choose before you clear the table
Check three things: what you own, where the work can sit, and whether you need that surface again soon. If you will be eating at the table in half an hour, choose dry materials or a loose arrangement you can store in a folder.
The times below are suggested session allowances, not tested completion times. Your pace, supplies, and chosen detail will change them. Waiting for paint or glue to dry is separate from hands-on making.
| Project | Start with | Suggested first session | Mess | A useful stopping point |
|---|---|---|---|---|
| Paper bookmark | Clean cardstock and pencil | 10–20 minutes | Dry scraps | Finished drawing or unglued layout |
| Accordion memory strip | Paper and an envelope | 15–30 minutes | Dry scraps | Folded strip with one panel filled |
| Texture sampler | Pencil and paper | 10–20 minutes | Very little | One page of rubbings or marks |
| Scrap-paper landscape | Reusable paper and a base | 20–40 minutes | Paper scraps; optional glue | Pieces stored together before gluing |
| Small stitched sampler | Fabric, needle and thread | 20–40 minutes | Loose thread | Needle secured in a closed project box |
| Cardboard miniature book | Thin card and paper | 20–40 minutes | Dry cutting scraps | Folded cover and pages before assembly |
| Decorative paper garland | Paper, string and tape | 20–40 minutes | Dry scraps | Shapes collected in an envelope |
Keep sharp tools, needles, cord, and small parts secured away from children and pets. These are adult projects; their compact size does not make their materials child-safe.
1. Make a bookmark with a small repeating design
Use a clean strip of cardstock from a package or an old card you are free to cut. Avoid greasy, damp, heavily textured, or glitter-shedding material that could mark a book.
Trim the strip to a size that fits comfortably between your book’s pages. Sketch one repeated motif: leaves, overlapping circles, a line of small houses, or a few blocks of color. Leave a plain margin if you like the look of breathing room.
Use dry pencils or pens you already know do not transfer when dry. If you use paint or glue, let everything dry completely before putting the bookmark inside a book. Skip bulky decorations that press against the binding.
For a short version, draw only a border. For a longer session, make a pair with different patterns. You can leave the surface unfinished and use it as it is; a bookmark does not need lamination or a tassel.
2. Fold an accordion memory strip
Take a strip of paper and fold it back and forth into a small concertina. Match the folded size to an envelope you already have. Crease one panel at a time, checking that the strip still closes without forcing it.

Fill one panel with a small drawing, a date, a few words about a place, or a copied photograph you have permission to use. You might record an ordinary walk, a meal, or a favorite room. There is no need to document a major life event.
Keep the layers thin so the strip closes easily. Store loose additions in the envelope rather than leaving them across the table. If you glue anything, let it dry before compressing the folds.
The smallest version is one filled panel and several empty ones. Those spaces can remain empty or hold future moments. You have made the structure even if you never fill every section.
3. Build a page of pencil textures
Put ordinary paper over a clean, stable textured surface, such as corrugated cardboard, and rub gently with the side of a pencil. Test first and avoid fragile, valuable, dirty, or damp surfaces.

Try changing the direction or pressure. If you do not have a suitable surface, draw the textures yourself: parallel lines, tiny dashes, scales, or loose loops. Divide the page into a few boxes so each experiment has a natural boundary.
Write a small note beside a texture if you want to remember how you made it. You can use the page later as collage material, but it does not need another purpose.
This is a useful choice when you want to work with your hands without constructing an object. Stop after one box if that is the amount of attention you have available.
4. Arrange a landscape from paper scraps
Choose a base sheet and three kinds of paper: perhaps an envelope interior, a clean paper bag, and a colored magazine page. Tear broad shapes for a foreground, a middle layer, and a sky.
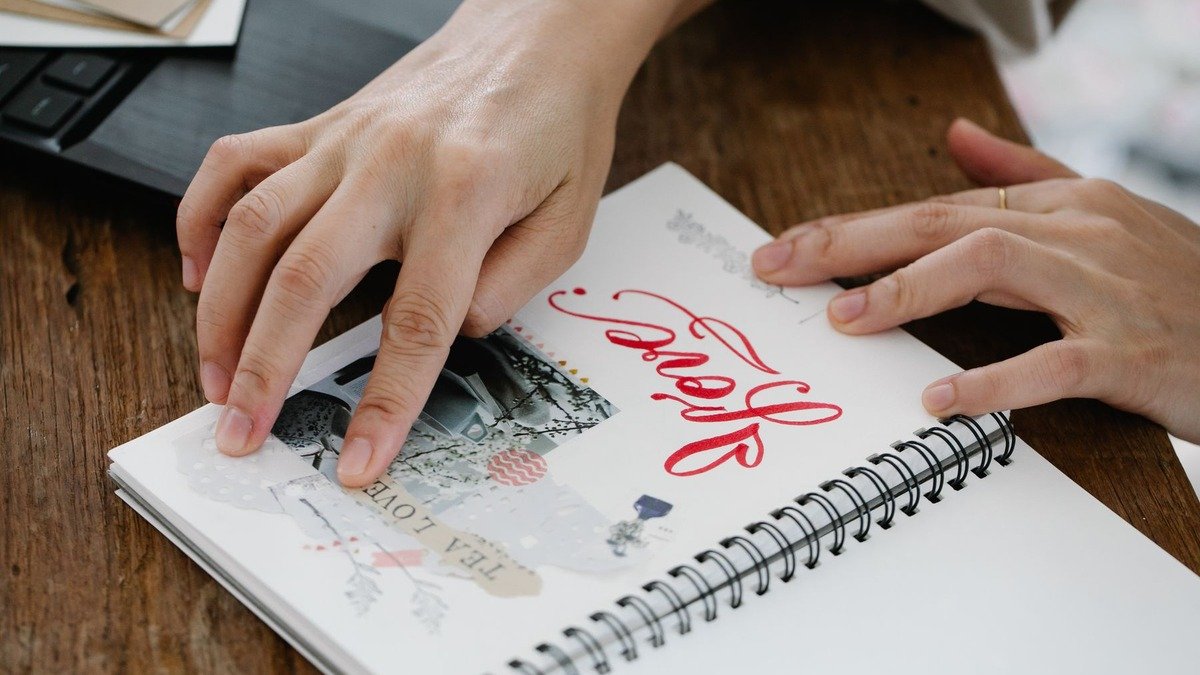
Place the shapes before attaching them. A torn edge can suggest a hill or roofline without precise drawing. Try one large shape first, then add smaller pieces only if the scene needs them.
Keep the arrangement loose if you want to experiment. Slide the pieces into a folder with the base, or attach them using an adhesive suitable for your papers. Follow its instructions and protect the table.
If the paper curls, use less adhesive next time and test on scrap. Do not promise yourself a framed landscape today. A small composition that fits in an envelope is enough to explore the idea.
5. Make a stitched fabric sampler
Choose a clean, reasonably stable fabric scrap and thread you already own. This is a practice piece, so use material you can alter without regret. Avoid stretchy or very slippery fabric for a first attempt if it makes handling difficult.
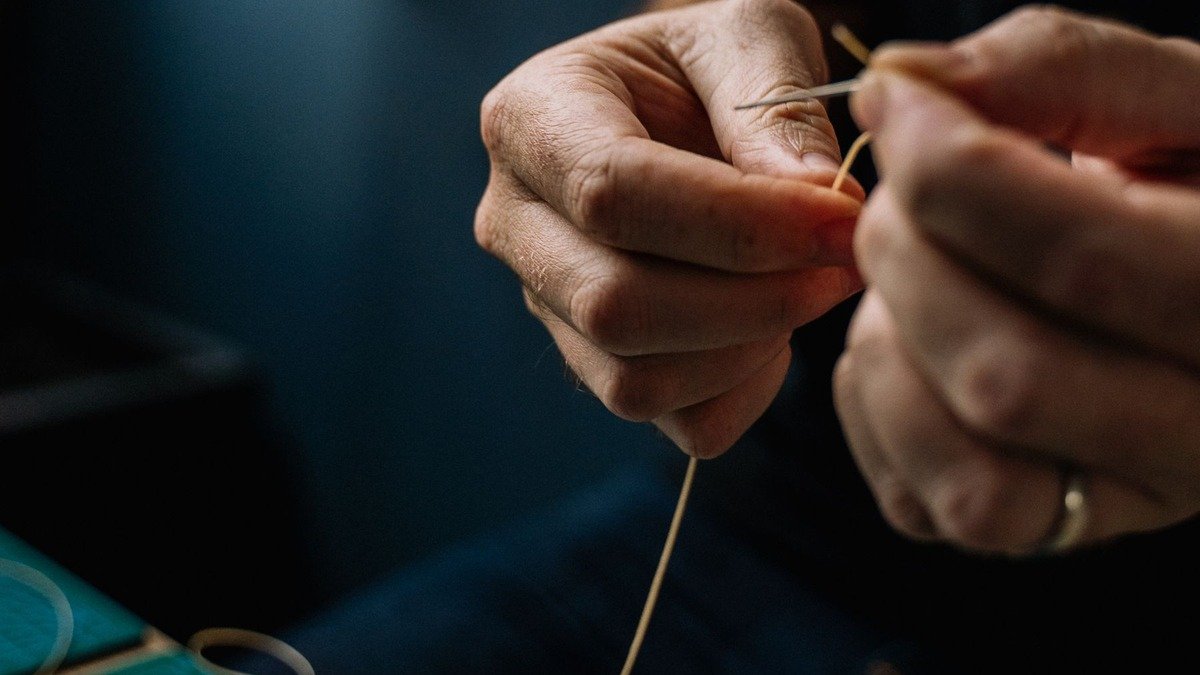
Draw a short line and bring a threaded needle up through the fabric. Take a small stitch down, leave a gap, then bring it up again along the line. Continue with a few simple running stitches. Secure the thread ends in a way appropriate to the fabric and intended use.
Try a second line with wider gaps or a different thread color. You are comparing marks, not testing a sewing pattern or constructing a garment. If you need help threading or managing tension, make that the session’s task.
Count the needle into a secure case when you stop. Store it with the project in a closed container rather than leaving it in a cushion or loose on the table. Choose paper instead if interruptions make needle storage difficult.
6. Create a tiny cardboard book
Use thin clean card for the cover and plain paper for the pages. Start with a decorative miniature that opens; it does not need readable text or a complicated binding.
Fold the cover around a small folded paper section, leaving a little room so the pages do not push beyond the edges. Trim with scissors while the pieces are easy to hold. If the scale becomes fiddly, make the book larger.
Decorate the cover with a pencil border or a title. You can tuck the folded pages inside as a removable insert. If you want to attach them, test a small amount of suitable adhesive on scrap and follow the label. Let it dry before repeatedly opening the cover.
Keep the finished miniature away from small children and pets. To explore more detailed scenes later, compare a miniature house with a book nook. A small paper experiment can help you decide whether you enjoy working at that scale before buying a kit.
7. Make a short decorative paper garland
Cut or tear a few simple shapes from paper you already have: leaves, rectangles, circles, or small house silhouettes. Repeat one shape rather than designing a large mixed collection.
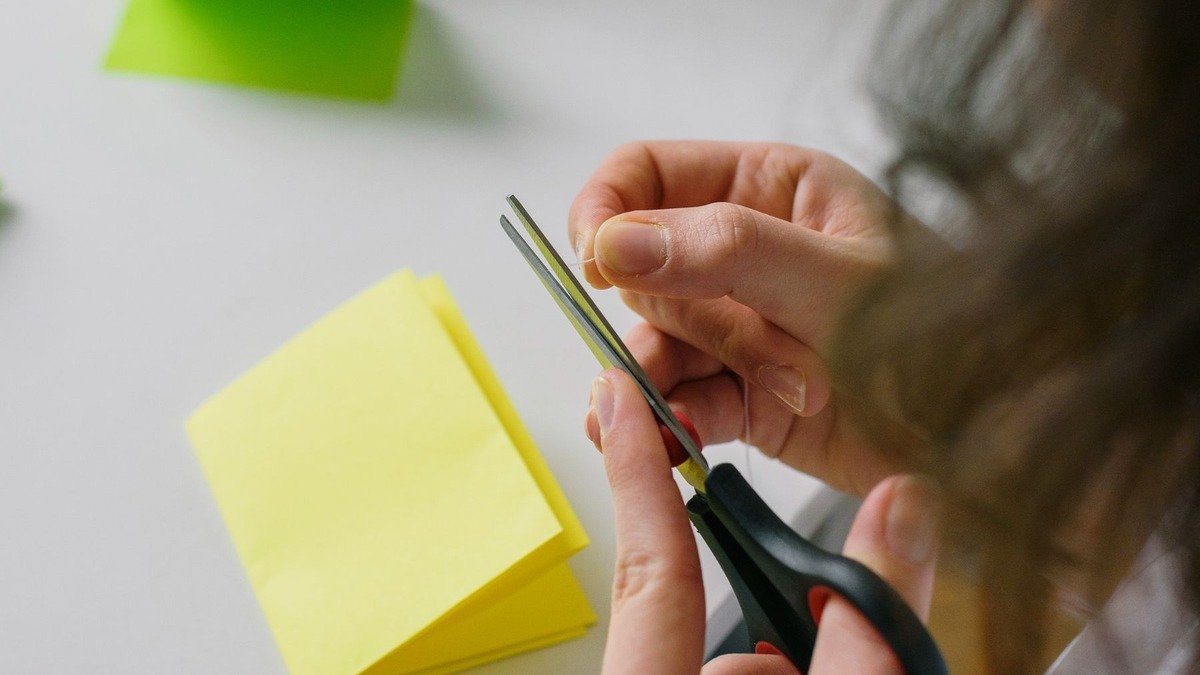
Lay the pieces on the table beside a short length of string. Adjust their spacing, then attach them with small pieces of suitable tape on the reverse. Folded tabs can hold the cord without punching holes if the paper allows it.
Make a sample section before committing to the full length. Display it somewhere dry, away from heat and flames, and out of reach of children and pets. Keep cords away from sleeping spaces. If you cannot find a suitable display place, arrange the shapes on a card instead.
The garland can be stored as loose shapes until you decide where it belongs. Rainy-day making does not need to produce more decor than you want to keep.
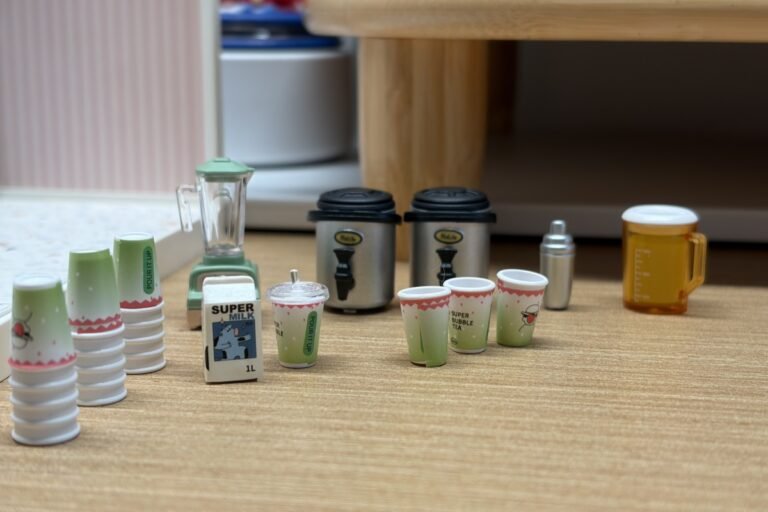
What if you already own a miniature kit?
Choose a task from that kit rather than begin another project just because it is raining. Read the next instruction and identify a manageable section: one small furnishing, a paper decoration, or a stable assembly step.
Check the tools needed for a miniature house kit before substituting equipment. Keep parts labeled and leave time to secure the workspace. The guide to miniature build times explains why the whole project may span several sessions.
For a genuine rainy-weekend example, Angelisa’s Cocoa Shop review describes a build with her daughter. That particular experience should not be treated as a universal completion time or a promise about another kit.
Leave the table ready for ordinary life again
Keep a small container for reusable scraps and another for waste. Before opening wet materials, decide where the work can dry without being moved through a busy room. If you have no safe drying place, choose one of the dry-paper versions.
An adhesive or paint being sold for crafts does not make it suitable for food-contact surfaces, enclosed rooms, or every material. Check the actual label. Resin, hot wax, spray finishes, and oven-cured materials need separate preparation and precautions; they are not simple substitutions for paper and pencil.
If a project becomes more work than you wanted, leave one clear note about the next step and put it away. For an evening with less energy, these after-work hobby ideas may help you choose a familiar task instead.
Start with the project whose materials you can reach now. The rain can be part of the afternoon without becoming a deadline to make something impressive.